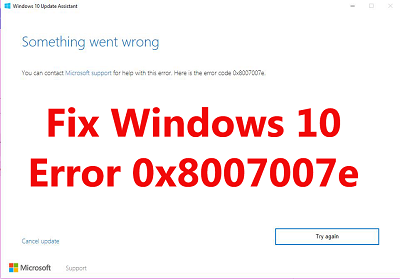
How to Fix Error 0x8007007e
How to fix error 0x8007007e: You may encounter the error 0x8007007e while you are upgrading to Windows 10 or carrying out a Windows update.
Due to this error you may not be able to update/upgrade your system successfully.
The problem can be solved easily by identifying the cause. In case the 3rd party software is the cause for the error, try to disable it while upgrading and that would solve the error.
In case if it doesn’t work then try fixing the Windows files to see if that rectifies the issue.
Table of Contents
3. Methods to Fix Error 0x8007007e
Here are some methods that would help you fix the error easily
1. Disable your 3rd party Antivirus
- Right click antivirus icon from system tray (located on right bottom corner) and choose – Disable
- In case it doesn’t work, then double click on antivirus icon. Choose the option – Disable option shown in pop up.
Now try upgrading and check if the error still exists.
In order to enable your antivirus, perform the steps below
- Right click –Antivirus icon from system tray and choose – Enable.
- In case that is not working then just double click – antivirus icon. Choose – Enable displayed in pop up.
2. By Resetting Windows Update Components manually
This method will help you restart BITS, MSI Installer, Cryptographic and Windows Update Services manually and also rename the SoftwareDistribution & Catroot2 folders that certainly would resolve the issue.
Hold – Windows Key using keyboard & press – X. Now release the Windows key and click on – Command Prompt (Admin)
- Type –net stop wuauserv & press Enter
- Type – net stop cryptSvc & press Enter
- Type- net stop bits &press Enter
- Type –net stop msiserver & press Enter
- Type – ren C:\Windows\SoftwareDistribution SoftwareDistribution.old & press Enter
- Type – ren C:\Windows\System32\catroot2 Catroot2.old and then press Enter
- Type – net start wuauserv &press Enter
- Type – net start cryptSvc & press Enter
- Type net start bits and press Enter
- Type – net start msiserver & press Enter
- Close – Command Prompt
At times even a single service starts automatically but do not panic about it. Simply try upgrading Windows again and this will resolve the issues.
3. Perform Clean Boot
Carrying out a clean boot can help you find out of the error has occurred due to third party intervention or 3rd party service.
- Hold – Windows Key and then – press R and then release the Windows Key
- Type – msconfig and simply press – Enter
- Click the tab – Services
- Check – Hide All Microsoft Services and then click Disable All (only if the button doesn’t appear grey)
- Click the tab – Startup and choose – Disable All. If you do not fine the option disable then click – Open Task Manager. Next, you need to select every task and click – Disable
- Now restart the system(PC)
- Check – Don’t show this message or launch the System once you see the window – System Configuration Utility
Follow Us On:

