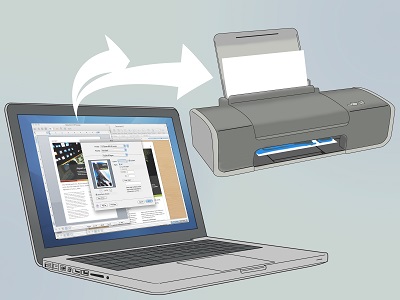
How to Connect Printer to Laptop
How to connect printer to laptop: If you want to use your printer on your laptop but have no idea how it can be done, then this article will help you.
Table of Contents
Ways to Connect Printer to Laptop
You can connect the printer to your laptop in using two different methods.
- wireless connection
- wired connection
This article will guide you the quickest and simplest methods to do it.
1. Connect printer to laptop wirelessly
Connect – Wireless printer to Wi-Fi
This method varies based on the printer you are using. The common methods to connect the printer to your wireless network are:
- In case the printer and the router are having WPS pairing button, then press-WPS button on the printer and then press the adjacent button on the router.
- On control panel of your printer, head to – Wireless settings. Now follow the screen instructions to access Wi-Fi network name & password.
In case the method doesn’t work for you then head to the site of the printer manufacturer. From there download Guidebook to find out the correct method to establish wireless connection.
Configure printer on the laptop
For Windows 10 operating system use the method given below to configure the printer on the laptop:
Add printer to laptop on Windows 10
- Switch ON the printer
- From the keyboard, press – Windows logo key and then click the button –Settings
- Select – Devices
- Choose – “Printers & scanners”, click on – “Add a printer/ scanner”
- Select printer you need and then click – Add device.
After the above steps are completed, Windows installs the appropriate driver for that specific printer. Now your printer gets connected to the laptop automatically.
Related post: How to forget WiFi network on windows 10
2. How to Connect printer to laptop using a cable
If you possess correct printer cable, it becomes easy to connect the printer to the laptop using this cable.
Find out the correct cable to add printer to laptop
Check port on the printer as well as your laptop to know the type of cable that can be utilized to connect printer to the laptop.
Connect cable to the printer and to your laptop
Connect the printer to your laptop using the cable and this will enable your Windows system to automatically install the appropriate driver for the printer you wish to use. This will allow you to use the printer on the laptop.
Wireless printers utilize the Wi-Fi network in order to perform printing tasks from the laptop.
In case of a wireless printer, the laptop is actually not connected to the printer cable & files can be transported to the printer from any space in your office or home.
In case where you are not close to your Wi-Fi, the wireless printer will not be able to find the print files that you send through email to it.
In case you find any issues with the connections problems between printer and Wi-Fi network, try moving the printer to a better working Wi-Fi signal.
Restarting the printer can help. Also clear the print jobs that are pending.
Follow Us On:

it keeps coming up USB connection. although i have connected it . it still wont print
Have you installed the driver in your PC?