Analog Clock for Windows 10
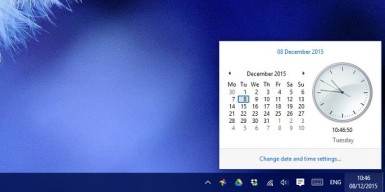
Analog clock for Windows 10: Microsoft has improved its looks and has also included tons of new features in Windows 10. You can also note changes in the clock and calendar panel in terms of appearance and options. Although the new look of the clock is just perfect and complements the modern layout of Windows 10, there are still many users who want to stick to the analog clock. If you are one of them, then here are some steps that describe how to get Analog clock in Windows 10.
Although Windows 7 had its share of pitfalls and disadvantages, almost everyone loved the analog-style clock that was found in the taskbar. However, when Windows 10 upgraded it to a digital clock, not many were impressed with the new look. There’s something charming about the old vintage-style clock that impresses us. So follow the rest of the guide to bring back the old classic clock in Windows 10.
Note: This trick would not work in the Windows 10 Anniversary edition v 1607.
Table of Contents
Enable Analog Clock in Windows 10
Tweaking the Registry can help you in reactivating the old classic analog clock in Windows 10. The process is quite simple. There is no need for you to install any third-party software as Registry Editor is in-built in Windows.
In order to get started, all you need to do is open the Registry Editor. Registry is a hidden settings file that manages Windows. There are plenty of applications that run on it.
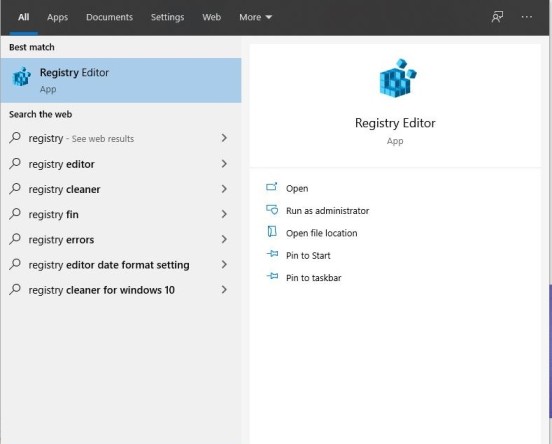
1: You can simply type “regedit” in the search menu of the taskbar in your Windows device to open it. Click on Registry Editor app top result to open it.
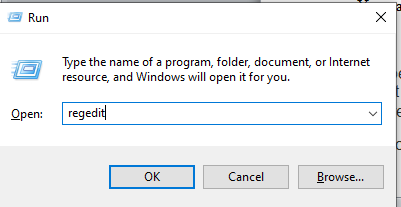
You can also press Win+R and then type regedit to open it. You will be prompted to choose the next move. Click on OK to open the application.
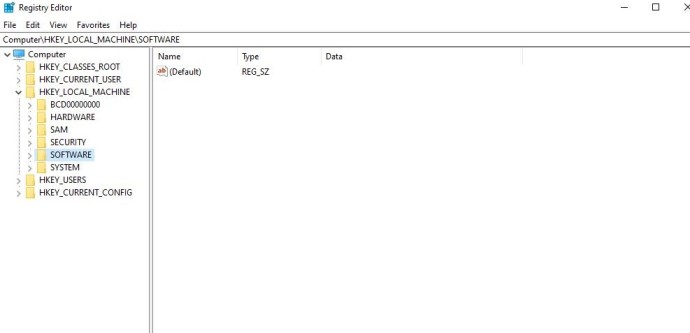
2: After opening the Registry Editor, you will have to navigate to this key.
HKEY_LOCAL_MACHINE\Software\Microsoft\Windows\CurrentVersion\ImmersiveShell
3. Click on the folder titled ImmersiveShell.
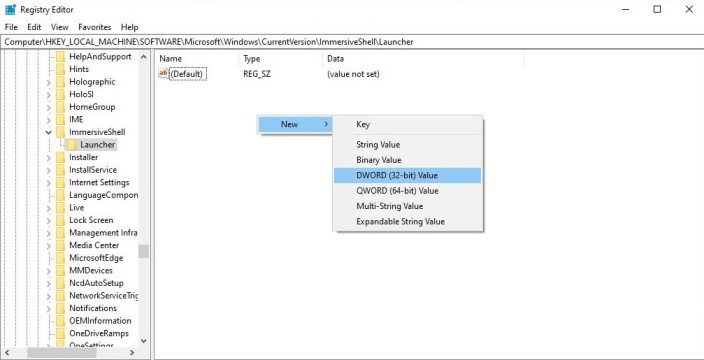
4. Create a new DWORD (32-bit) Value on your right-hand side. For creating this, you need to right-click on the empty space present on the right panel. Select New and then click on DWORD (32-bit) Value.
5. You need to then name it UseWin32TrayClockExperience.
6. The value would be set to 0 by default. You need to change this to 1.
For changing the value, you have to double click on UseWin32TrayClockExperince and then enter 1.
Note* Make sure to save the changes that you make. As soon as you modify this setting, your Windows 10 Clock and Calendar will go back to how it used to be in the Windows 7 version.
Also, if you are not comfortable with making modifications in the Windows Registry, then you can download an analog clock from your Windows Store.
Follow Us On:
One of you two didn’t check if there was another post about this. This one says exactly what you say and it doesn’t work. https://www.winhelponline.com/blog/get-back-classic-tray-clock-windows-10/