
Gmail Pop3 Settings
Gmail pop3 settings: In this article you can learn how to set up email account in Gmail using POP3.
Table of Contents
Some restrictions of Gmail pop3 settings
Let us look at the restrictions that are included before you head to set up email account in Gmail using POP3
- Gmail lets you set up your email using POP but not IMAP. It simply means that the email will be downloaded but will not get synchronized on the server.
- Gmail enables download of emails via your Inbox only. It means the emails present in other folders for example drafts and send will not be downloaded.
- As per the default settings, Gmail automatically downloads the emails and later deletes from its server. It is recommended that users should look for the option to maintain a copy of their emails on server itself. It will help you pull out the emails in Webmail.
Gmail pop3 settings setup
1. Sign in to your Gmail and head to Settings
- Sign in to Gmail account.
- Click on the gear icon found in the top most right corner.
- From the given drop down menu, select- Settings
2. Add email account
- Click – Accounts and Import located in menu on the top
- Click – Add an email account
3. Enter email address
- Type your email address if you wish to set up in your Gmail
- Click – Next
4. Confirm if you wish to import using POP
- Select – Import emails from my other
- Click – Next
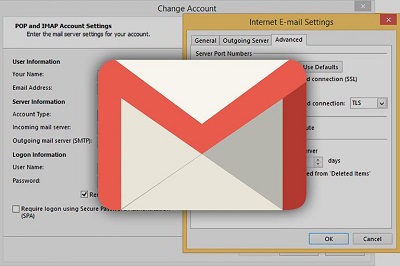
Gmail POP3 server settings
Gmail pop3 server settings for incoming Email
Follow the settings to be entered for incoming email
- Username – Your email address
- Password – Password used to sign in to Webmail
- POP server – pop.one.com
- Port – 995
- Check the option that says – leave a copy on the server
- Check option – use SSL.
- Now click on – Add account to proceed
It is recommended that you check option so that a copy of emails is maintained on the server. It will help you pull out the emails from Webmail.
Gmail pop3 server settings for outgoing Email
You will start receiving emails from email account existing in Gmail. The very next step involves setting up your outgoing settings for emails to be send from your account
- Now Choose : “Yes I wish to be able to send”
- Click – Next
Enter the name of the sender
- Type in the name of the sender you wish to be appearing to all the recipients.
- Click – Next step
In case the Gmail address you are using is primary address for you while other email ids are just at receiving end then you need to check the following box – “Treat as an allas”
Enter the settings for SMTP server
- SMTP – server-one.com
- Username – your email address
- Password – the password in use to sign in to Webmail
- Port – 587
- Secured connection – TLS
- To continue click – Add account
Open the email confirmation sent by Gmail
You will get an email from Gmail with confirmation code
You just need to click the email, enter verification code and verify the settings.
Follow Us On:Ajit Yadav
Author Bio: Ajit yadav is a professional blogger and co-founder of WindowsClassroom. He is a software engineer by education and blogger & writer by profession.